| ArtisticHobbies.com |
|---|
| Hobby Resources * Model Building Projects * Modeling Resources * YouTube Channel |
| OTHER WEBSITES * Artistic Reefs |
Tamiya 1/16 Full Option King Tiger Tank - Page 8
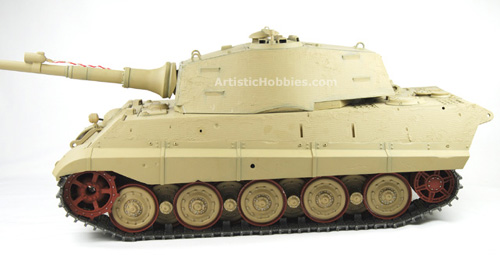
At this stage, your model should look something like this. Again, have you noticed there are no accessories on the model. This is because I will be painting each one separately but this is entirely up to you. Most modelers install all there parts all at once and paint everything in place. But in my opinion it just makes it harder to detail a part if it’s already glues into place already.
If you already have a radio and the receiver already installed in your tank. This is a great time to test out your tank and put it through its paces. Any problems should be tackled at this point if any.
The radio I bought for my tank is the Futaba 2.4Ghz FHSS 4 Channel radio, which includes the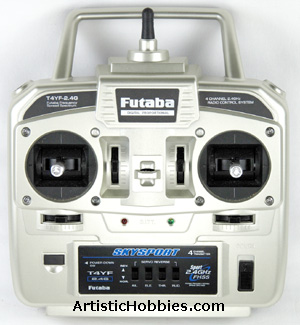 receiver. I highly recommend this radio for several reasons. One big reason is because it uses Spread Spectrum technology, which uses Frequency hopping so your radio never interferes with someone else’s radio. Plus it took less than a minute to program. The radio requires 4 AA batteries.
One small problem I had was firing the machine gun, but this was simply resolved by adjusting the trim on the radio. Instructions on how to make this adjustment are located in your Operation Manual on page 9, which is included with your tank model. It’s a 15 page booklet that gives you details on how to use your tank, make adjustments and troubleshooting help if ever needed.
A neck strap is also included with the radio, which is nice thing to have and users manual.
Once you are finished having fun with your tank and is ready for combat action. Your then ready for the next faze of the modeling project and is usually the most enjoyable part of your build, which is adding all the accessories and detailing your tank to personalize it.
For me, my tank is going to be painted in a 3-tone camouflaged color and heavily weathered to give the tank the appearance of being in combat action for a long time.
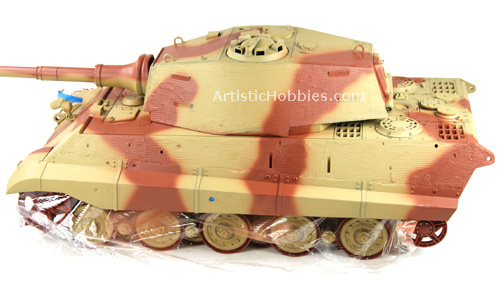
The first step is to get the tank ready for paint, which means covering up everything that doesn’t need to be painted like the road wheels. The best way to do this is go into your kitchen and grab some plastic wrap. Cover up your road wheels as shown above and now your ready for some paint.
I freehanded the reddish brown paint using a double action airbrush. Airbrushing freehand takes lots of practice but you can achieve the same results by masking off the whole tank and leaving parts of the tank un-masked for paint or some people use clay as a masking.
| Home |
| Copyright © 2009- 2024 ArtisticHobbies.com - All rights reserved |