| ArtisticHobbies.com |
|---|
| Hobby Resources * Model Building Projects * Modeling Resources * YouTube Channel |
| OTHER WEBSITES * Artistic Reefs |
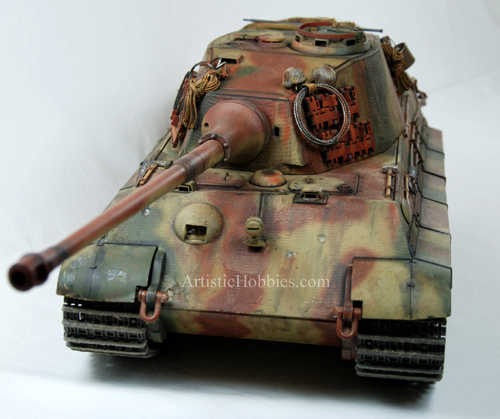
Tamiya 1/16 Full Option King Tiger Tank - Page 2Again, just like we did for the back side of the tank, we adding 2 more large shackles to the lower front side of the tank. This shackle kit comes with 4 shackles and are very detailed.
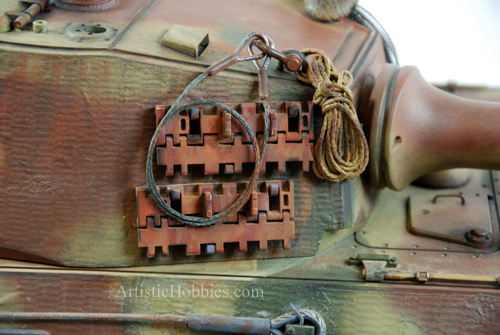
Pictured below, we added rope, 1 shackle and a small German tow cable to add extra detail to the tank. The rope already come in a green color and is the perfect color for US armor. But since this is for a German tank, it needed to be painted a light tan color. The shackle was painted and holds the small tow cable in place.
The small tow cable is made by using 2 small wire thimbles and picture hanging wire. Instead of using picture hanging wire, you could also use 1.0 mm Stainless Steel Towing Cable wire. Once everything was placed on the tank, I weathered everything using our PanPastel Model Tank Weathering Sets. Also pictured above you will also notice we weathered the spare tracks using PanPastel Model Tank Weathering. Since these tracks have been on this tank for a very long time, I weathered them in a light orange rust color. As a rule of thumb, the lighter the rust color, the older the rust is.
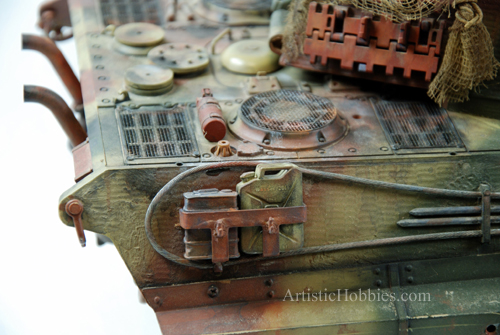
This next picture above shows an oil and water jerry can inside a custom made storage holder. This storage holder will be very controversial because there is no pictures or evidence that the Germans had a holder like this on sides of there King Tiger tanks. With that said, this was added to give the tank more detail, but like I do with most of my models I build. I build them the way I want them to be and not always to historic guidelines. The storage holder was made with strips of pastic. To make the bends in the plastic nice and crisp you need to place the plastic in boiling water. Place only the area of the plastic in the boiling water that you want the bend in. Hold the plastic in the boiling water with pliers for about 5-10 seconds, then take the plastic out and make your bend while the plastic is soft. While holding the bent in the desired position, place the plastic under cold water to re-harden the plastic. Repeat this process with all your bends. I have used this technique for years to bend plastic and it has always worked for me. Give it a try but be very careful of the boiling water!
|
| Home |
| Copyright © 2009- 2024 ArtisticHobbies.com - All rights reserved |