| ArtisticHobbies.com |
|---|
| Hobby Resources * Model Building Projects * Modeling Resources * YouTube Channel |
| OTHER WEBSITES * Artistic Reefs |
Started: 8/25/2014
Build instructor: Gene Wilson
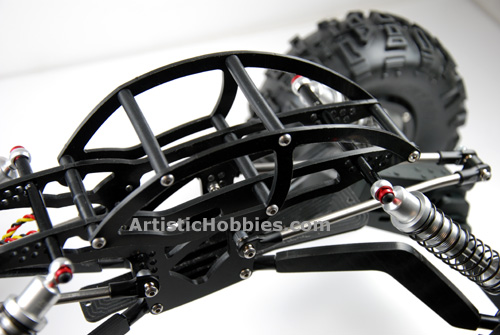
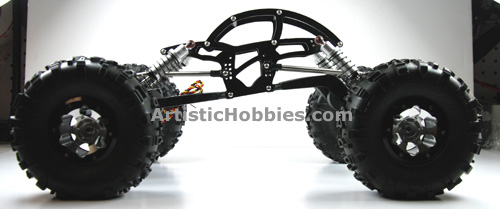
Billet Works Designs RC Rock Crawler Cab install on the
XR "Thing" chassis Toturial
In this tutorial, I will be showing you how to assemble the Billet Works Design cab onto the thier XR "Thing" chassis. With the proper tools, this project can be finished in about 35 minutes or less. Some cutting of the Medium spacers are involved and can be easily done by using a hacksaw or a Dremel tool using a cutting wheel. Will get into more detail on this cutting later on.
The following tools are needed for this project.
- 2mm hex driver (Don’t use electric driver)
- Vise grips and or pliers?
- Hacksaw or Dremel cutter (Optional)
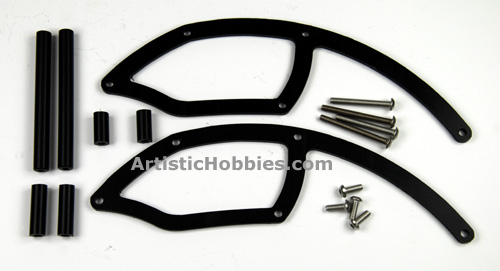
So lets get stated, The below picture showS everything that is included in this cab kit from Billet Works Designs.
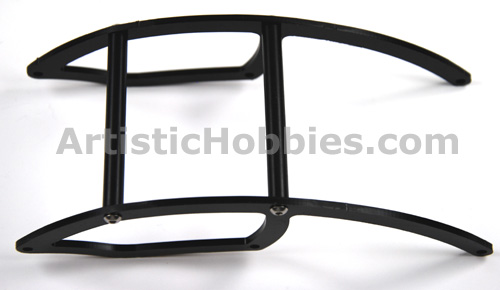
I started the assembly by installing the larger spacers onto the upper cab shown below using my 2mm hex driver (Hand TooL) and the smaller 4 screws that came with your kit. There 3 different size braces that come with your kit. The ones you will be using for the upper cab are about 3.3/8” or about 60.55mm long and are the longest braces in your kit.

Then attach the other cab side to the braces you just installed (Shown Below). These 2 top braces are threaded and require no thread lock.
The following picture (Right) shows the remaining braces left to install. The larger brace on 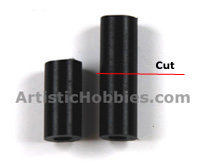 the right will need to be cut smaller than the spacer on the left. Cut the brace on the right in half with a hacksaw or a Dremel cutting wheel and this will give you the perfect length you need. These cut braces (Spacers) will be attached to the front of the cab and the brace you didn’t cut (Left) will be placed in the center.
The next picture below will give you a good idea on how this will look when everything is attached. Attach the center spacer with the longest 2 screws that came in your kit and the front spacer with the other screws, which are slightly shorter in length while using a 2mm hex driver.
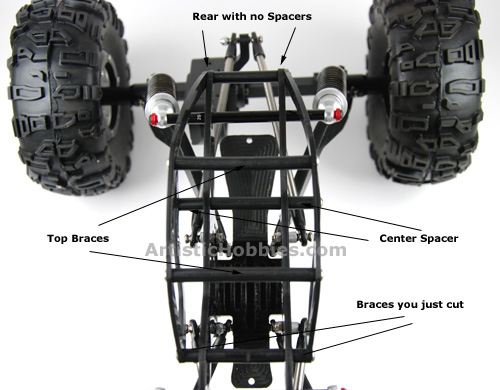
The rear attachment required no spacers but a smaller spacer can be added if you want. What’s nice about this kit it does give you some flexibility in how your cab can look.
At this point you are finished with the Billet Works Designs “Thing” RC rock crawler chassis cab install. Hope this helped you in understand how everything is put together and I hope I didn't miss anything along the way.
Back to Model Building Projects
| Home |
| Copyright © 2009- 2024 ArtisticHobbies.com - All rights reserved |