| ArtisticHobbies.com |
|---|
| Hobby Resources * Model Building Projects * Modeling Resources * YouTube Channel |
| OTHER WEBSITES * ArtisticReefs.com |
Billet Works Designs RC Rock Crawler "Thing" Chassis Toturial
Page 2
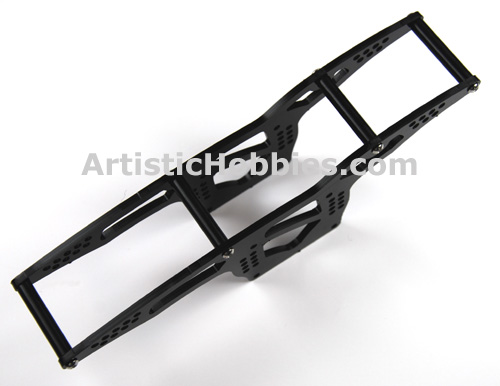
This is what it looks like with the 4 chassis braces attached to the side panels (Shown Below).
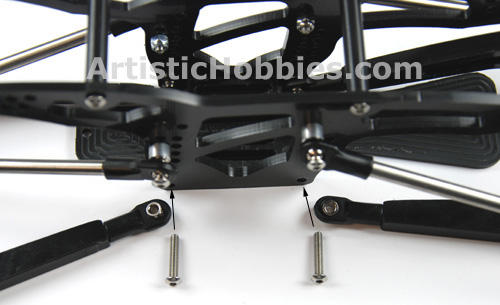
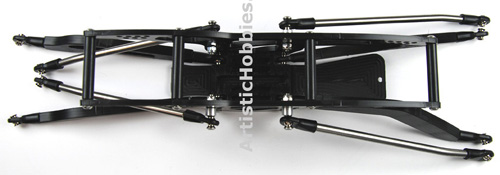
Next thing to do is install your lower black Delrin links and lower skid plate to the lower chassis. For this you will need your 16mm hex bolts that came with your kit and your 2mm hex driver. Make sure the long portion of the skid plate is facing towards the rear of the chasses. The lower links fit between your chassis side plates and the skid plate. Hopefully these pictures show you what I am referring to pictured below.
You may be asking which side is the rear. To be honest, this took me a little while to figure out by trial and error. You can tell which side is the rear by looking at the holes in the upper chassis. The side that has 9 hole is the rear of the chassis and the front has 7 holes (Pictured Above). These holes will be used for mounting your shocks.
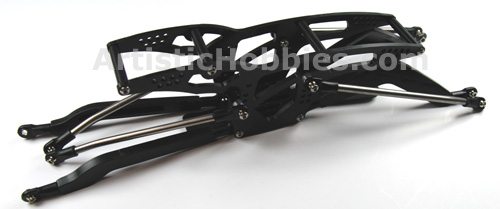
We are almost finished. Time to attach upper links using your 19mm hex bolts, 4.7mm spacers and you will also need your 2mm hex driver tool.
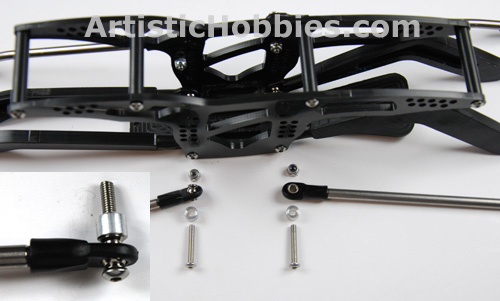
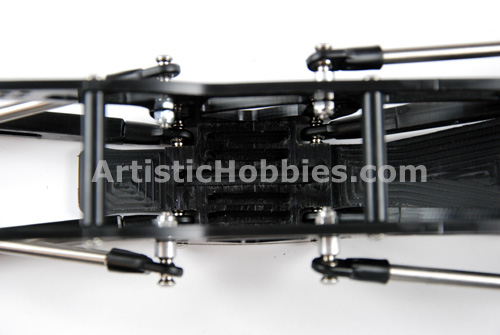
We are almost finished. Time to attach upper links using your 19mm hex bolts, 4.7mm spacers and you will also need your 2mm hex driver tool. The hex bolts are attached to the sides of the chassis using the supplied locking hex nuts. Make sure the bend in the rod links are facing outward. The upper rods can be places in any of the center chassis holes as shown below.
At this point you are finished with the Billet Works Designs “Thing” RC rock crawling chassis. Hope this helped you in understand how everything is put together and I hope I didn't miss anything along the way.
As an observation when building this kit. There could be more than one way to assemble this kit but my instructions here is the way I build mine. So there’s no wrong way in what should go on first to make thing easier in your build. To be honest, I really found this kit to be fun to build. Maybe because it’s something new for me, but I think the main reason is because there is so many ways for your upper links and shocks to be adjusted because there is so many adjustment holes located on the chassis for countless setup options. This is a big plus when it comes to setting up your RC rock crawler for that big clime over those big rocks.
In another totural, I will be showing you how to install Bullet Works Design’s cab, which can be installed on the “Thing’ chassis.
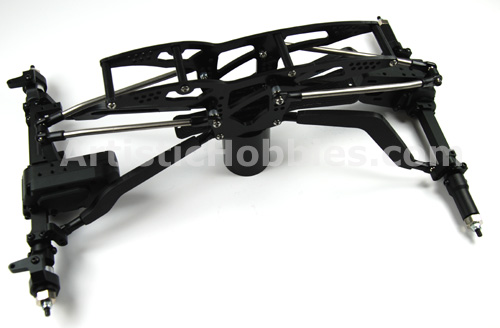
Here is another picture (Below) but with the Billet Works Designs chassis attached to a set of RC4WD Bully 2 competition rock crawler Axles (MOA).
Back to Model Building Projects
| Home |
| Copyright © 2009- 2022 ArtisticHobbies.com - All rights reserved |